BIM Automation Tool

Learn how I helped create an automation tool, and improve productivity by 93%

Team

PM, Artificial Intelligence Researcher,  Deep Learning & CV Developers, Frontend UI specialist

My Role

User Research, Ideate, Sketch, Interview, Wireframes, UI guidelines Prototype, Test

Methodes

User Research, Design Thinking, Stockholders Meetings

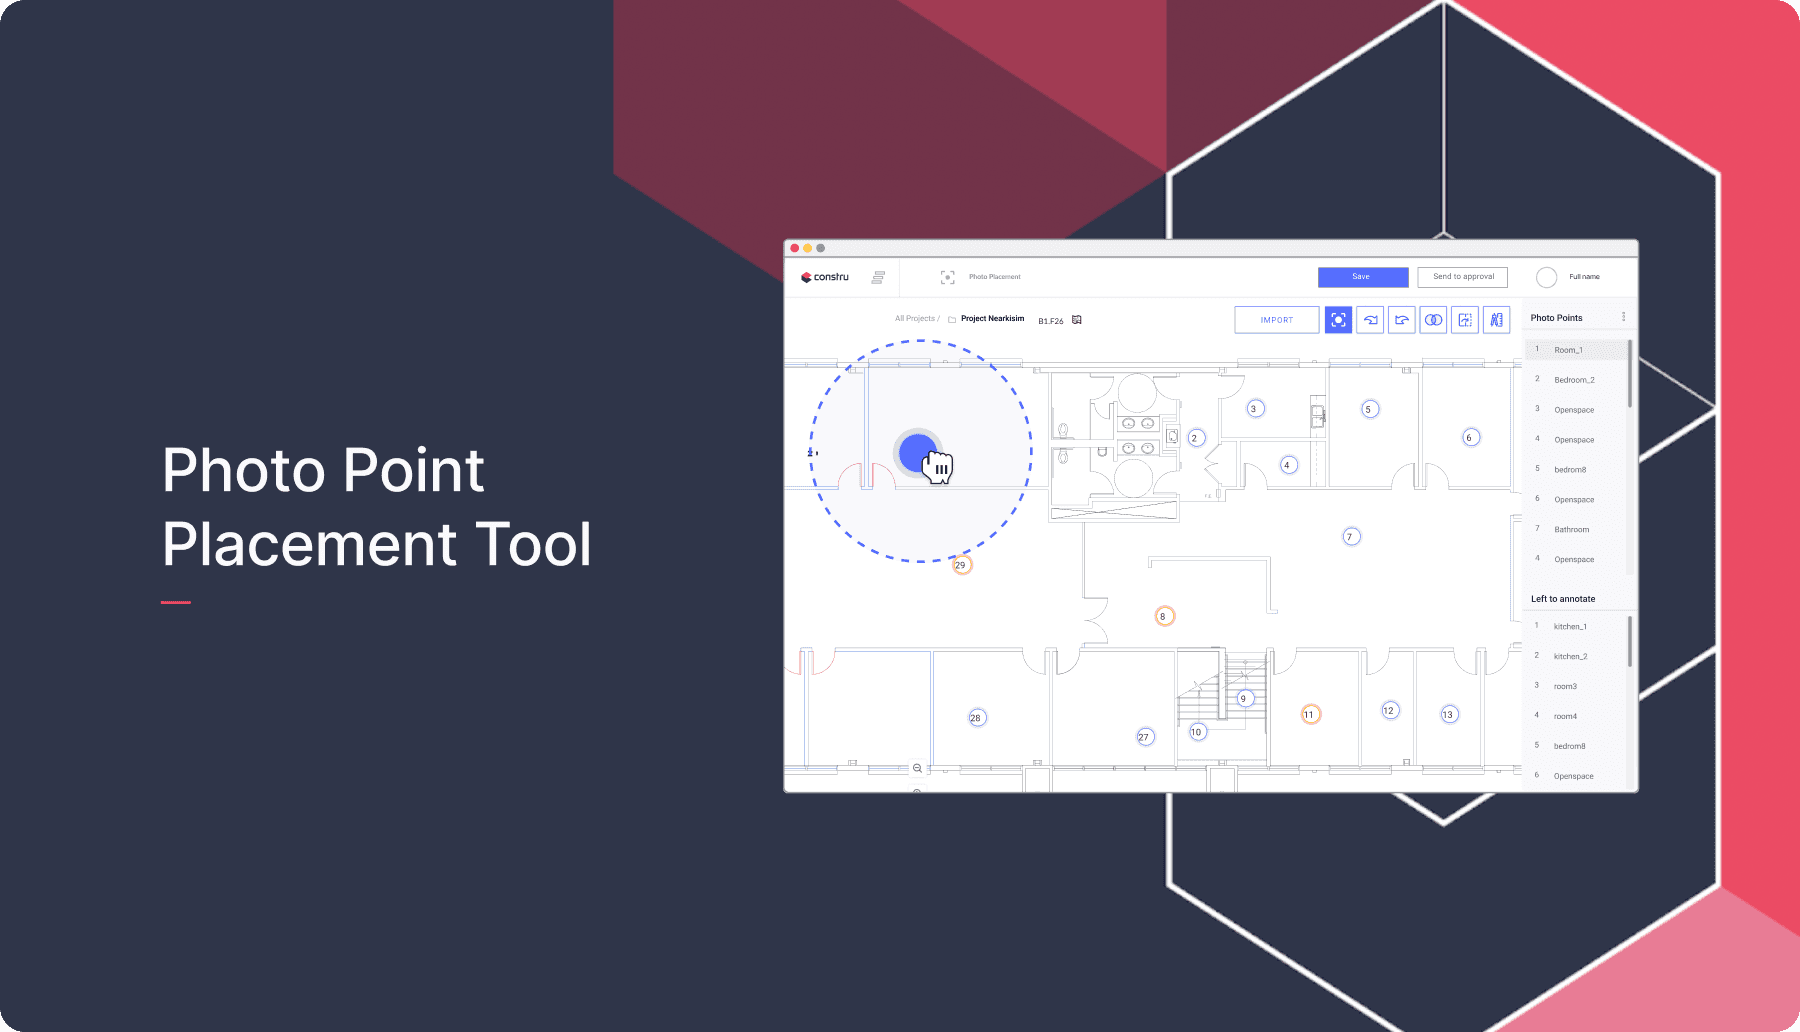
BIM Automation Tool

This automation tool ensures that the BIM model matches the image of the job site.

Team

PM, Artificial Intelligence Researcher,  Deep Learning & CV Developers, Frontend UI specialist

My Role

User Research, Ideate, Sketch, Interview, Wireframes, UI guidelines Prototype, Test

Methodes

User Research, Design Thinking, Stockholders Meetings

Background

Utilizing the power of AI and machine learning, our company leverages image data to construct a comprehensive database. This invaluable resource empowers project managers and superintendents in the construction industry with deep insights into the building process.

The Challenge

The existing workflow lacks full automation, leading to an excessive manual workload for our operations team.

The Project at Hand

We aim to streamline and expedite the alignment of 3D BIM Models with on-site images through the implementation of an automation tool (currently in development, TBD Automated).

Our Team's Objectives

1. Reduce image processing time from 100 seconds to 20 seconds.

2. Achieve a 10% increase in scalability.

3. Implement full process automation.

4. Minimize manual intervention.

Discovery Phase

Understanding the Issue

We've identified several key factors contributing to the challenge: Cameras possess six degrees of freedom. Alignment requires all six degrees, including three for translation (X, Y, Z in BIM frame) and three for rotation.
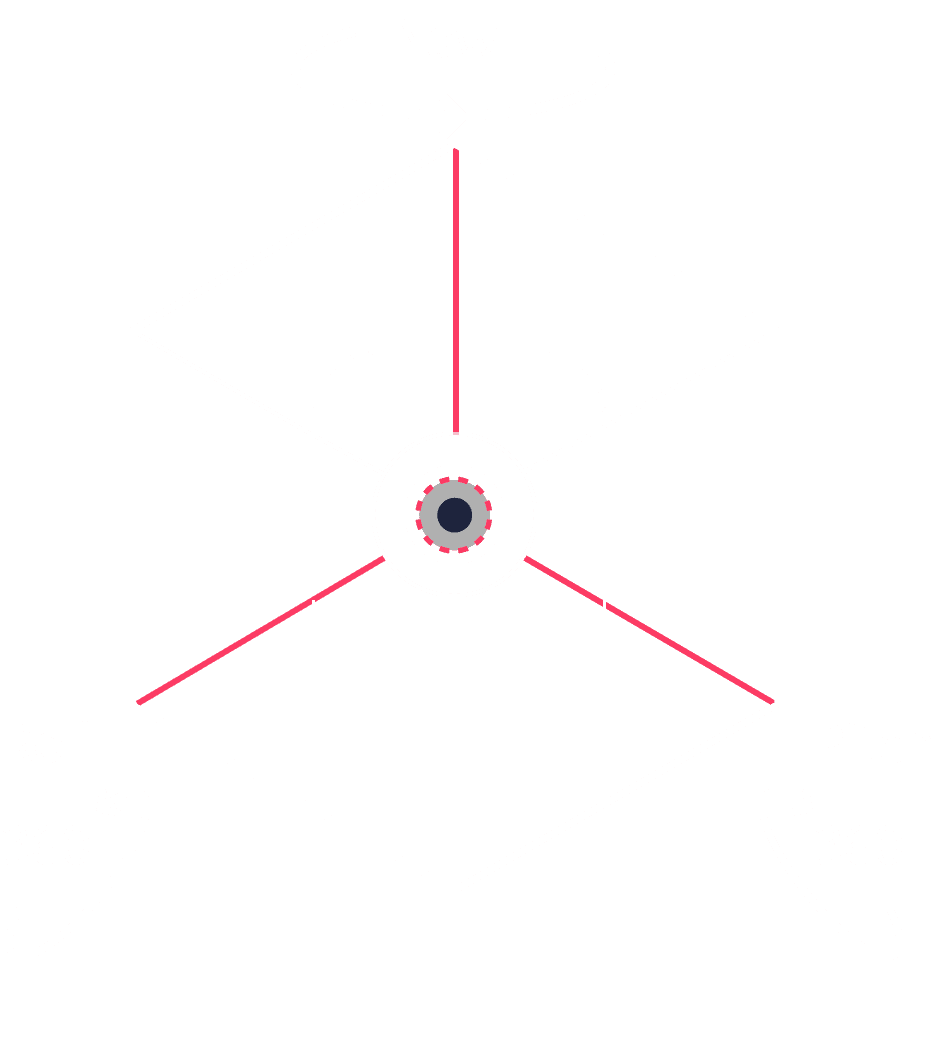
•  Cameras possess six degrees of freedom.

•  Alignment requires all six degrees, including three for translation (X, Y, Z in BIM frame) and three for rotation.

Research: Gathering Requirements

Research and Development (R&D)

Our research has established the following requirements:

A minimum of four points for XY alignment, plus Azimuth.

  • Recommended usage of four points for XY alignment, plus Azimuth.

  • An additional point for Z alignment (camera height).

Constraints

It's essential to note certain limitations:

  • Alignment points need not enclose a complete rectangle.

  • Placing three points consecutively in a single row is not permitted.

  • The points should neither be too close nor too far from each other.

Product KPI

Our primary KPI is to reduce image processing time from 100 seconds to 15 seconds.

R&D

•  Minimum 4 points for XY + Azimuth

•  Recommended 4 points for XY + Azimuth

•  Extra point for Z (camera height)

R&D

•  Minimum 4 points for XY + Azimuth

•  Recommended 4 points for XY + Azimuth

•  Extra point for Z (camera height)

R&D

•  Minimum 4 points for XY + Azimuth

•  Recommended 4 points for XY + Azimuth

•  Extra point for Z (camera height)

R&D

•  Minimum 4 points for XY + Azimuth

•  Recommended 4 points for XY + Azimuth

•  Extra point for Z (camera height)

Limitation

•  Don’t have to close a whole rectangle

•  3 in one row are not allowed

•  Does not allow being too close or too far from each other

Limitation

•  Don’t have to close a whole rectangle

•  3 in one row are not allowed

•  Does not allow being too close or too far from each other

Limitation

•  Don’t have to close a whole rectangle

•  3 in one row are not allowed

•  Does not allow being too close or too far from each other

Limitation

•  Don’t have to close a whole rectangle

•  3 in one row are not allowed

•  Does not allow being too close or too far from each other

Product KPI

•  KPI Reduce the time (from 100 sec.  to 15 sec)

Product KPI

•  KPI Reduce the time (from 100 sec.  to 15 sec)

Product KPI

•  KPI Reduce the time (from 100 sec.  to 15 sec)

Product KPI

•  KPI Reduce the time (from 100 sec.  to 15 sec)

The User

The User

Persona

Marina is a BIM Specialist/Architecture.
Marina must align all the new images with the BIM in the current state.
Marina usually works in an open space.

Marina is a BIM Specialist/Architecture.
Marina must align all the new images with the BIM in the current state. Marina usually works in an open space.

Demographics

Female

24 Years Old

Single

Belgrade, Serbia

Tools

Needs, Goals & Motivations

  • Match the Image to be BIM (Less than 15 sec)

  • Have indication about her action

  • Take a look at the results of the work

  • Correct it in case it’s needed

Pains

  • Manually hard work

  • It takes a lot of time
    (With the current tool) the image moves after each mark

  • Doesn't know when alignment is enough

  • “BIM alignment is time consuming”

  • Manually hard work

  • It takes a lot of time
    (With the current tool) the image moves after each mark

  • Doesn't know when alignment is enough

  • “BIM alignment is time consuming”

Interview Key Insight

It turns out that panorama view is better than verticals column display.
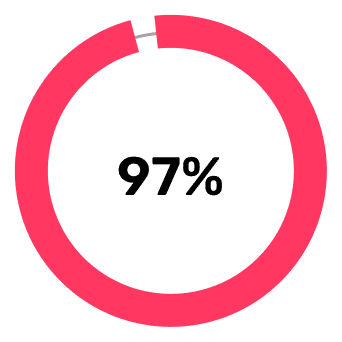
It Turns out that they need a way to zoom in or our quickly
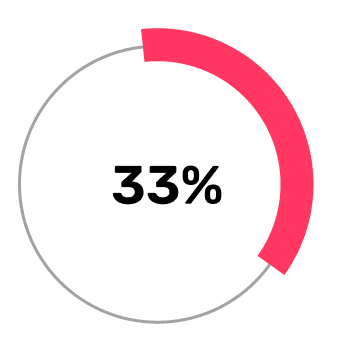
It turns out that color inside the images was a “noise” in the eye.
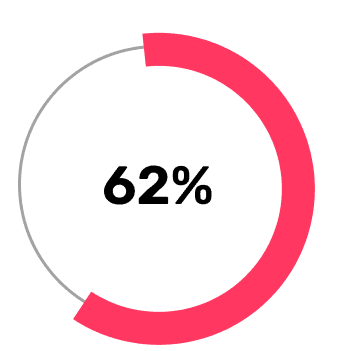
The users preferred to see the results after placement of the 4th point.

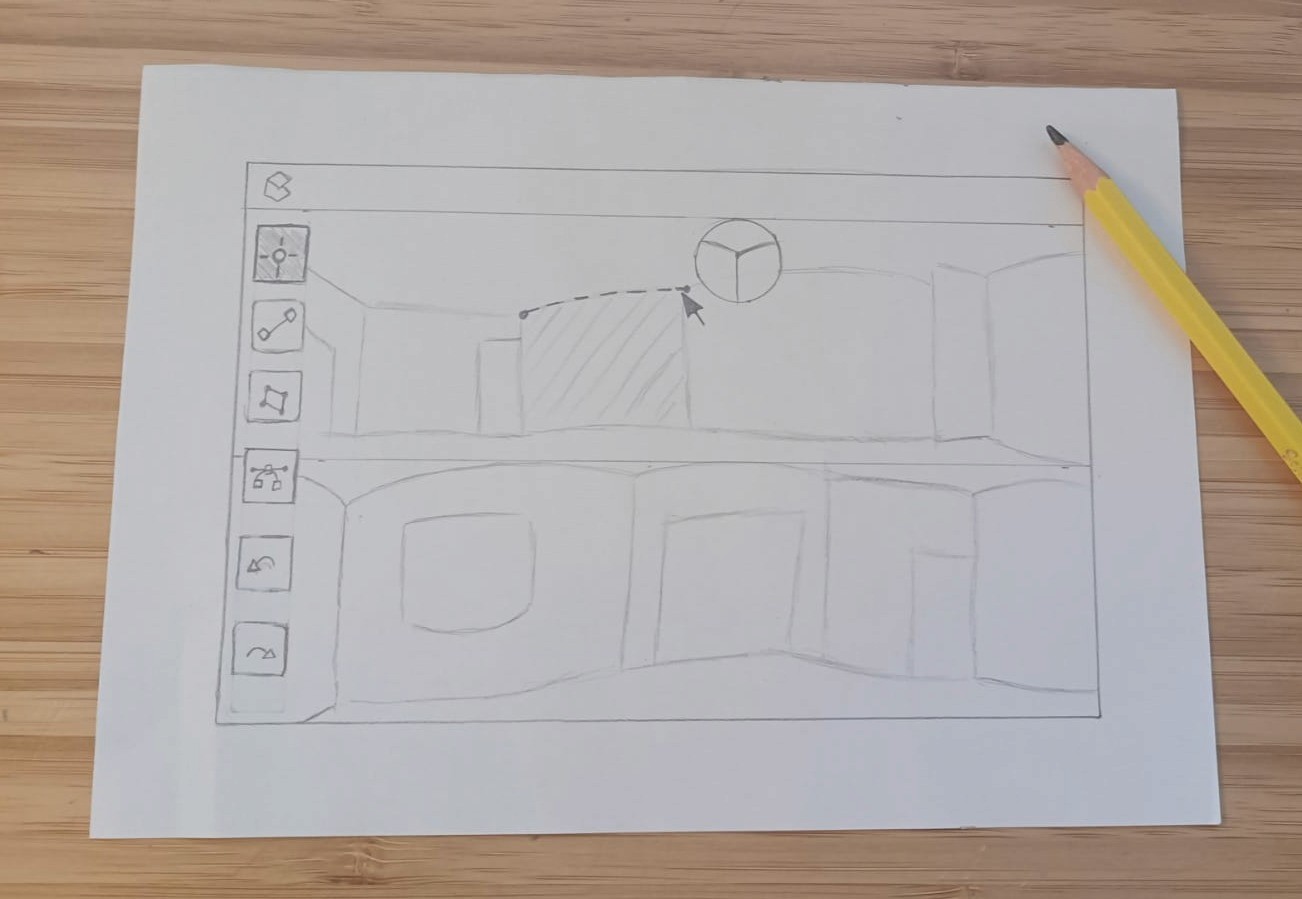
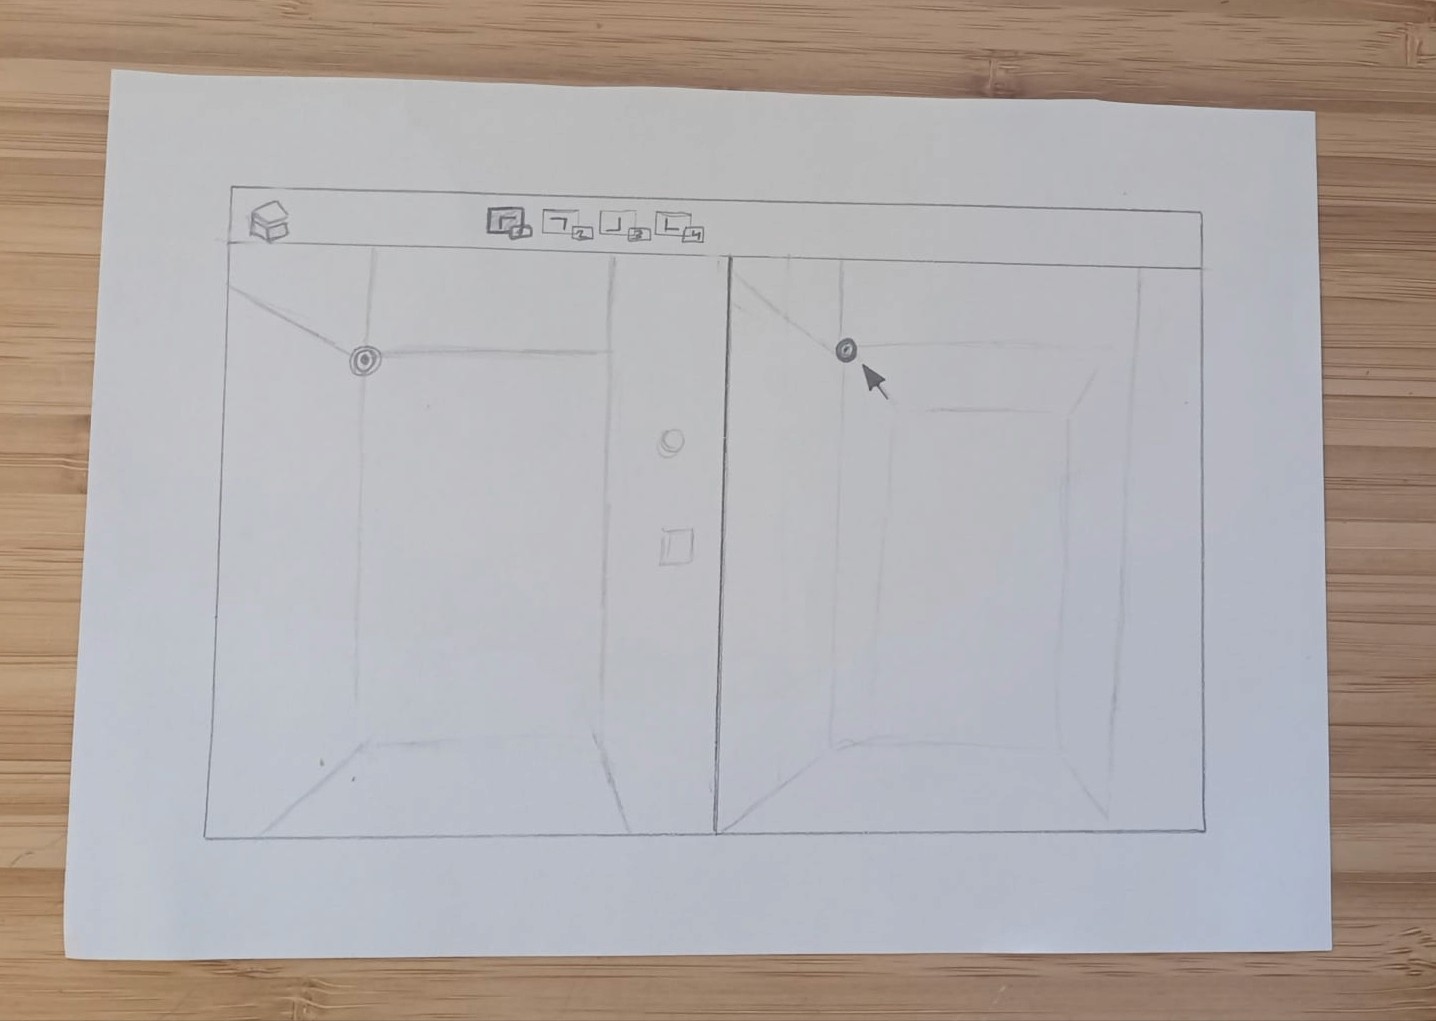
Low Fidelity Sketch

User-Centric Layout

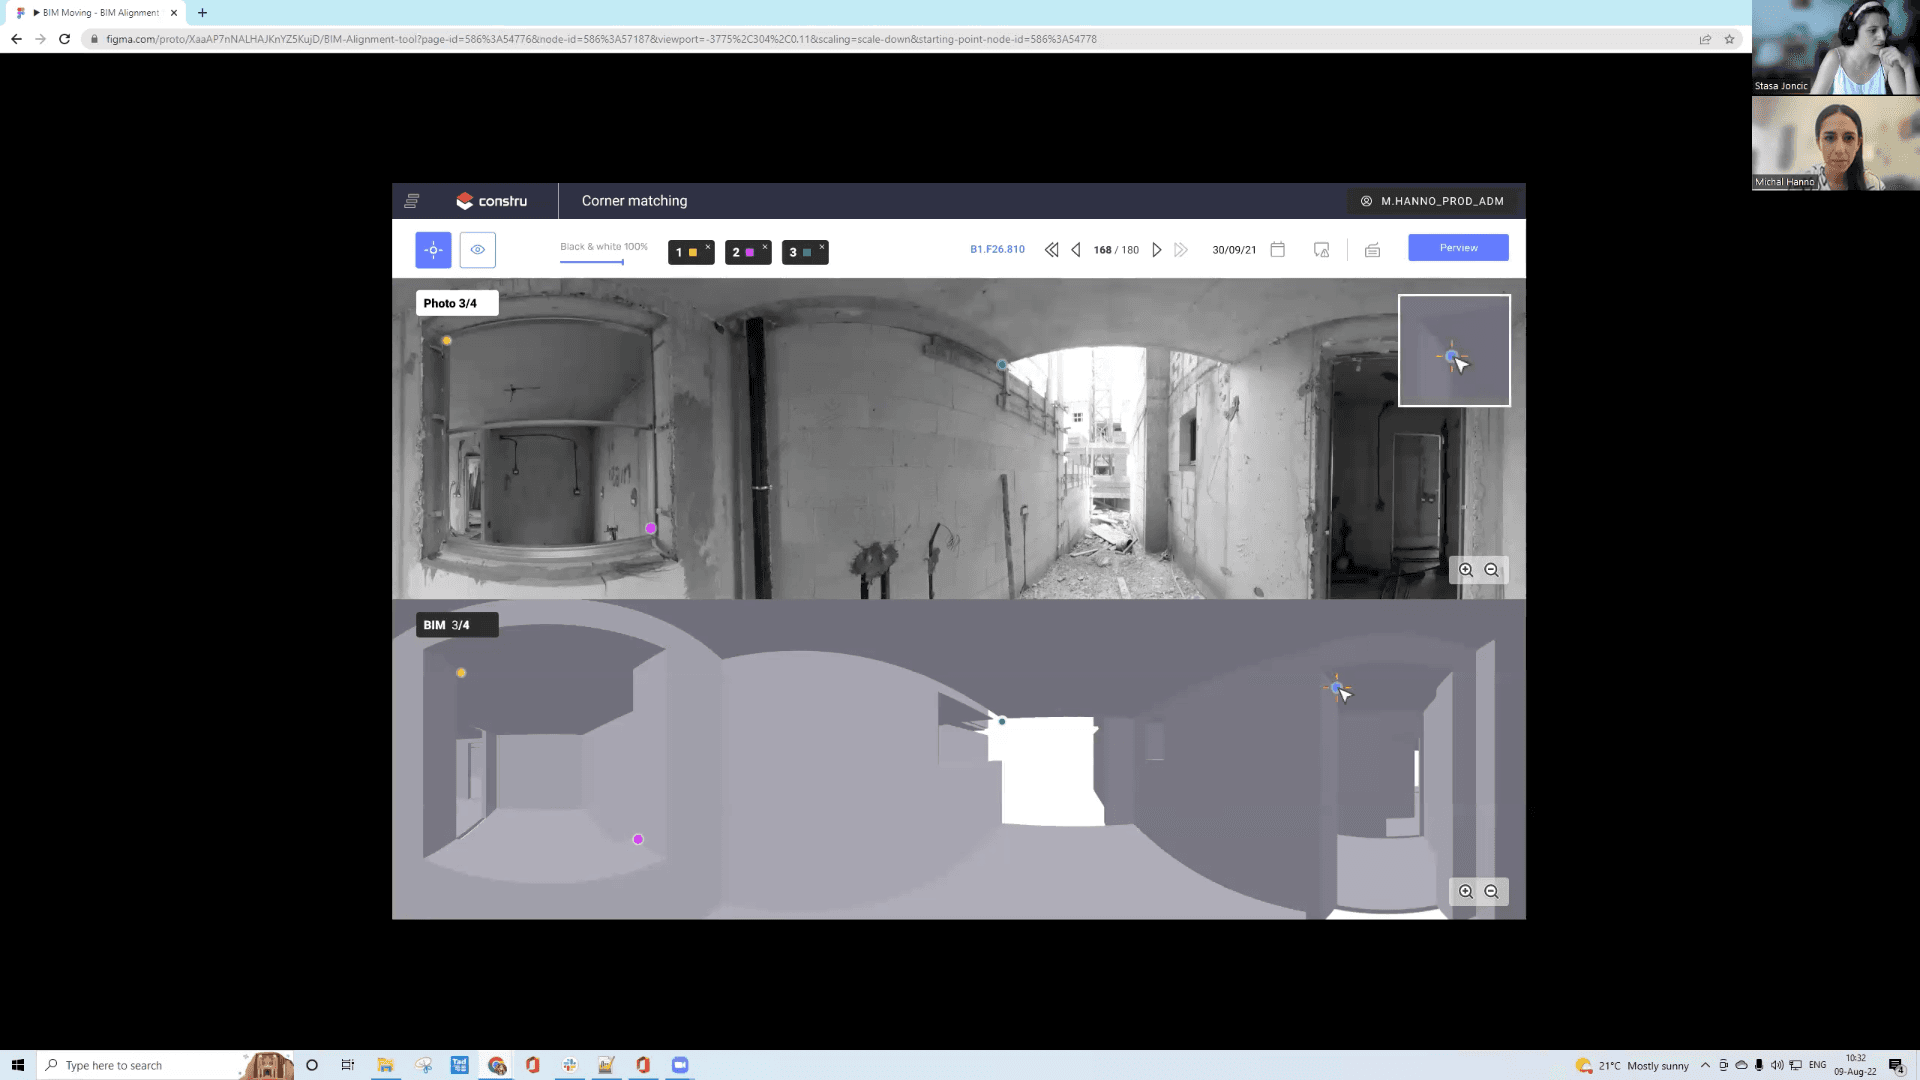
Our focus is on creating a user-friendly layout that simplifies the task. Users typically need to complete a core action: align four points on both the BIM model and the image, viewing both simultaneously. We offer two layout options: vertical and horizontal.

Essential Tools

To enhance the user experience, we've incorporated the following tools:

  • A marker or pin for placing new photo points.

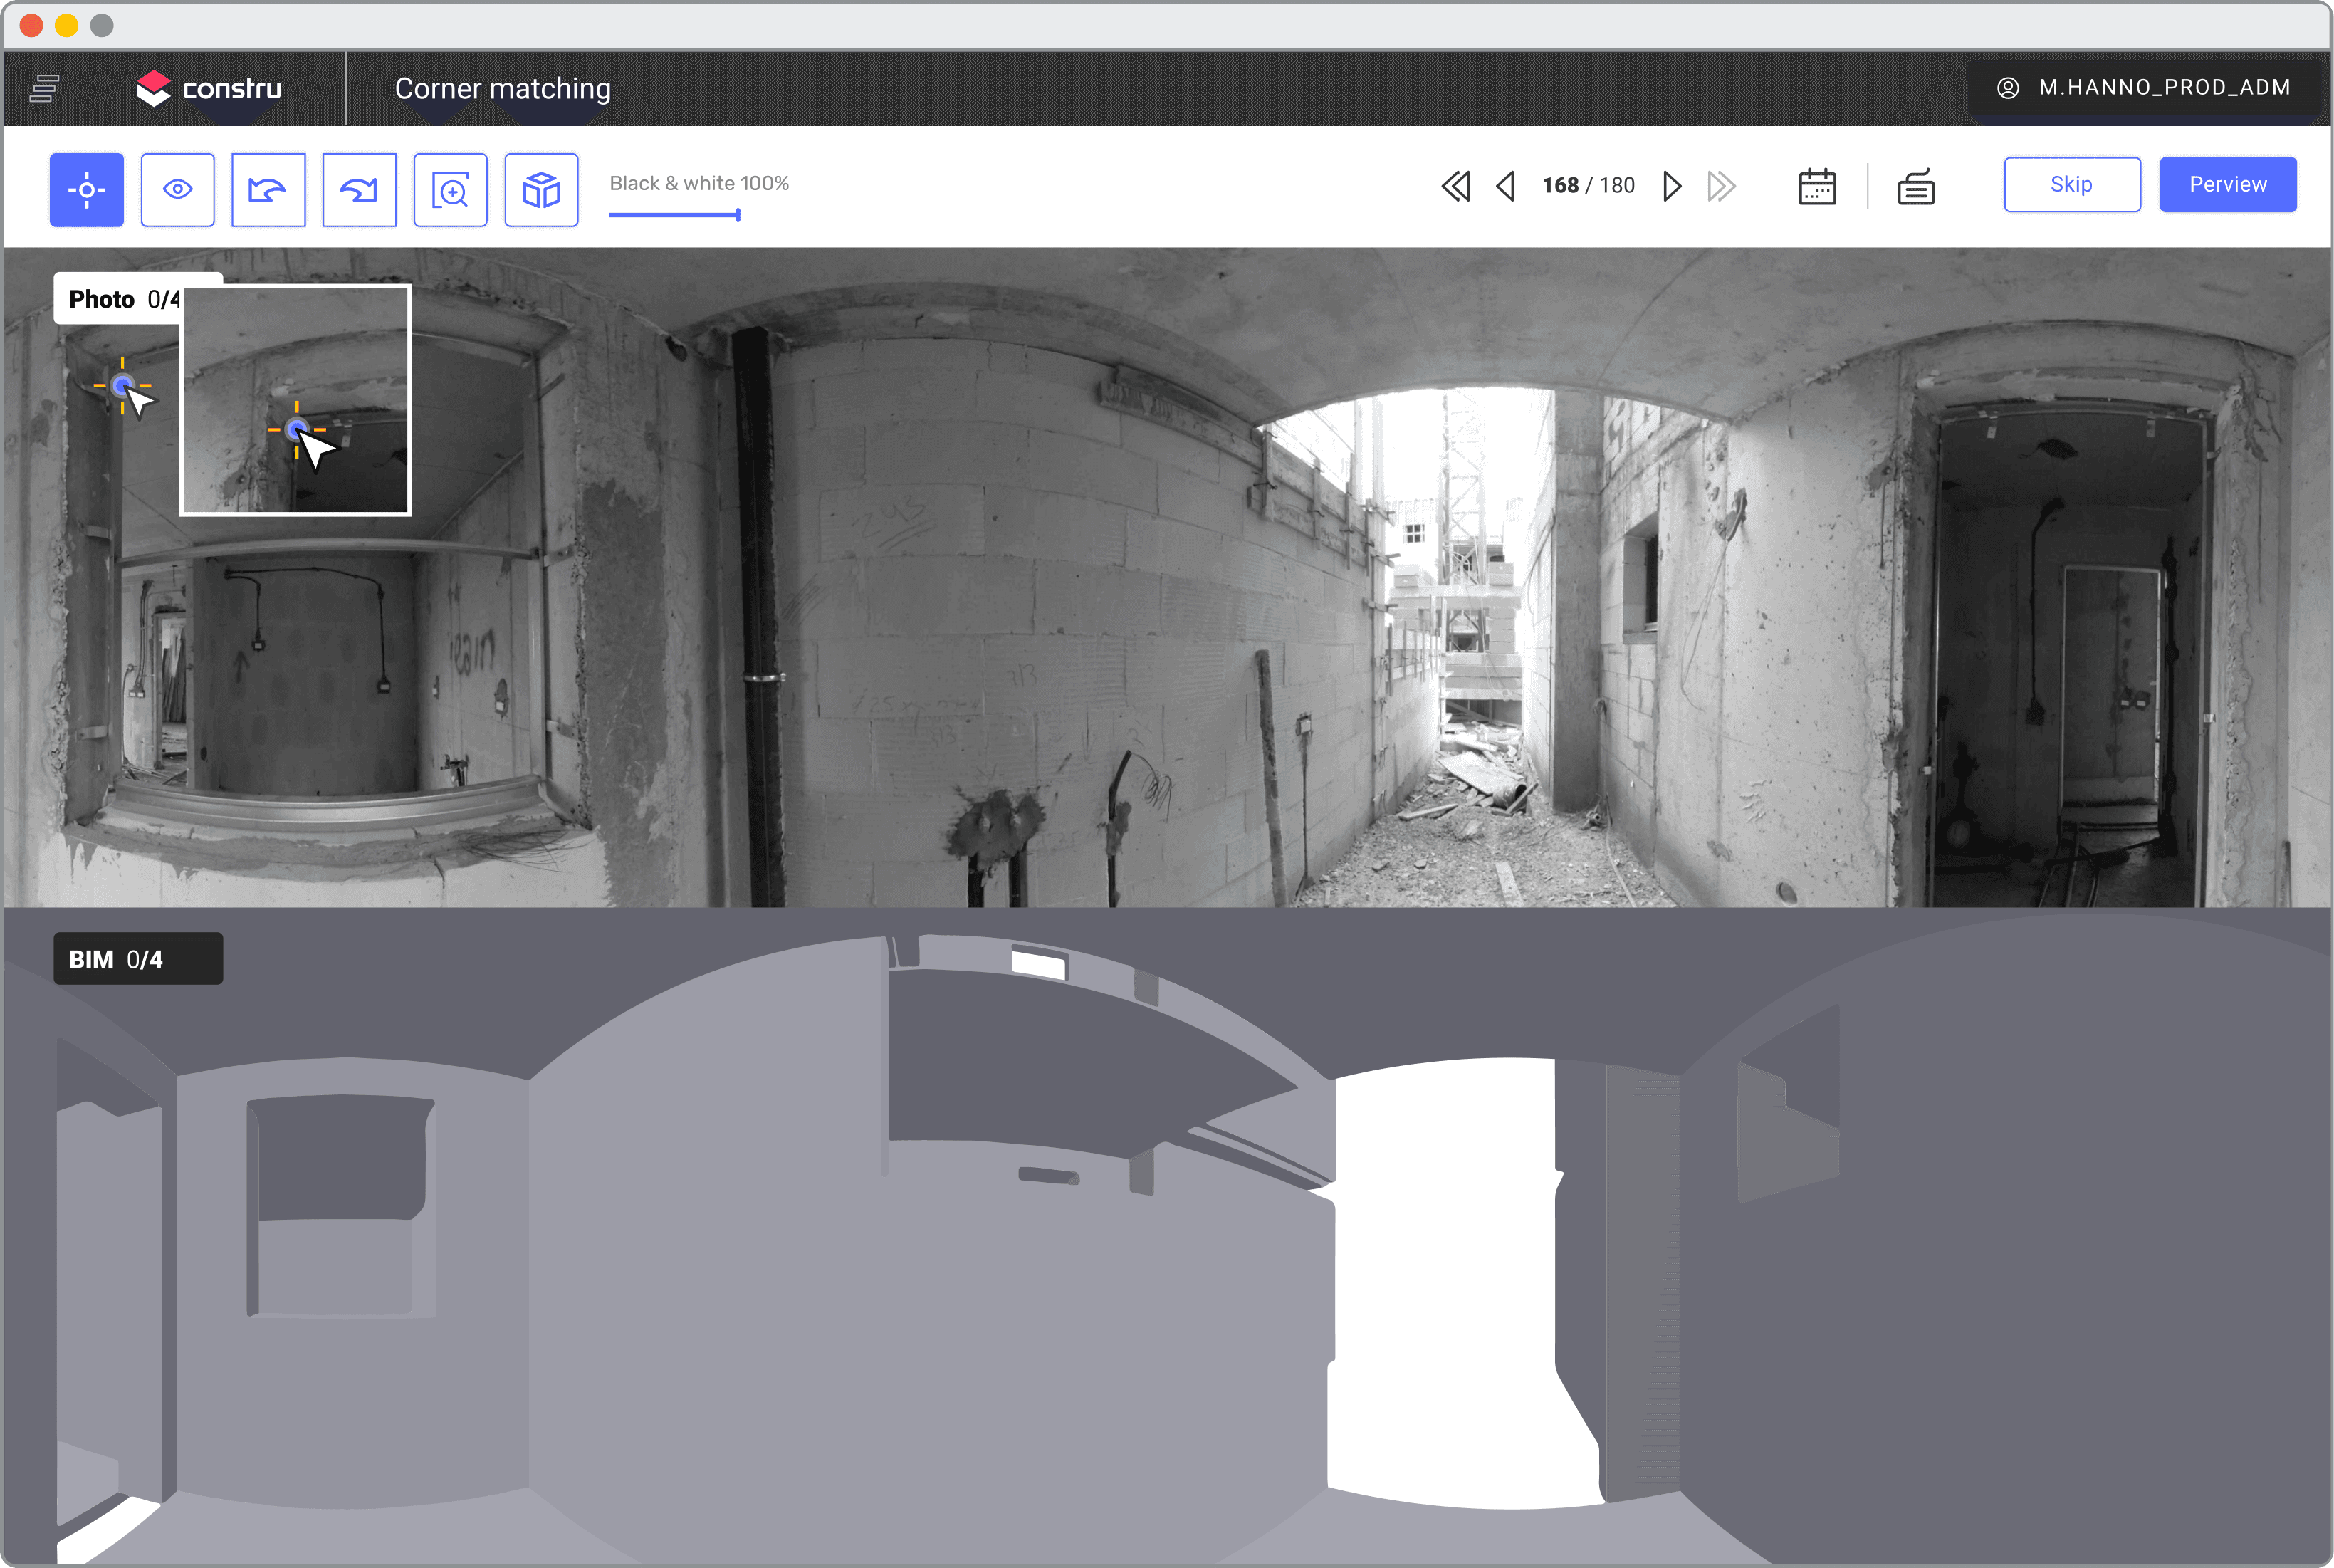
  • Zooming in and out capabilities for better distinction (utilizing mouse scroll).

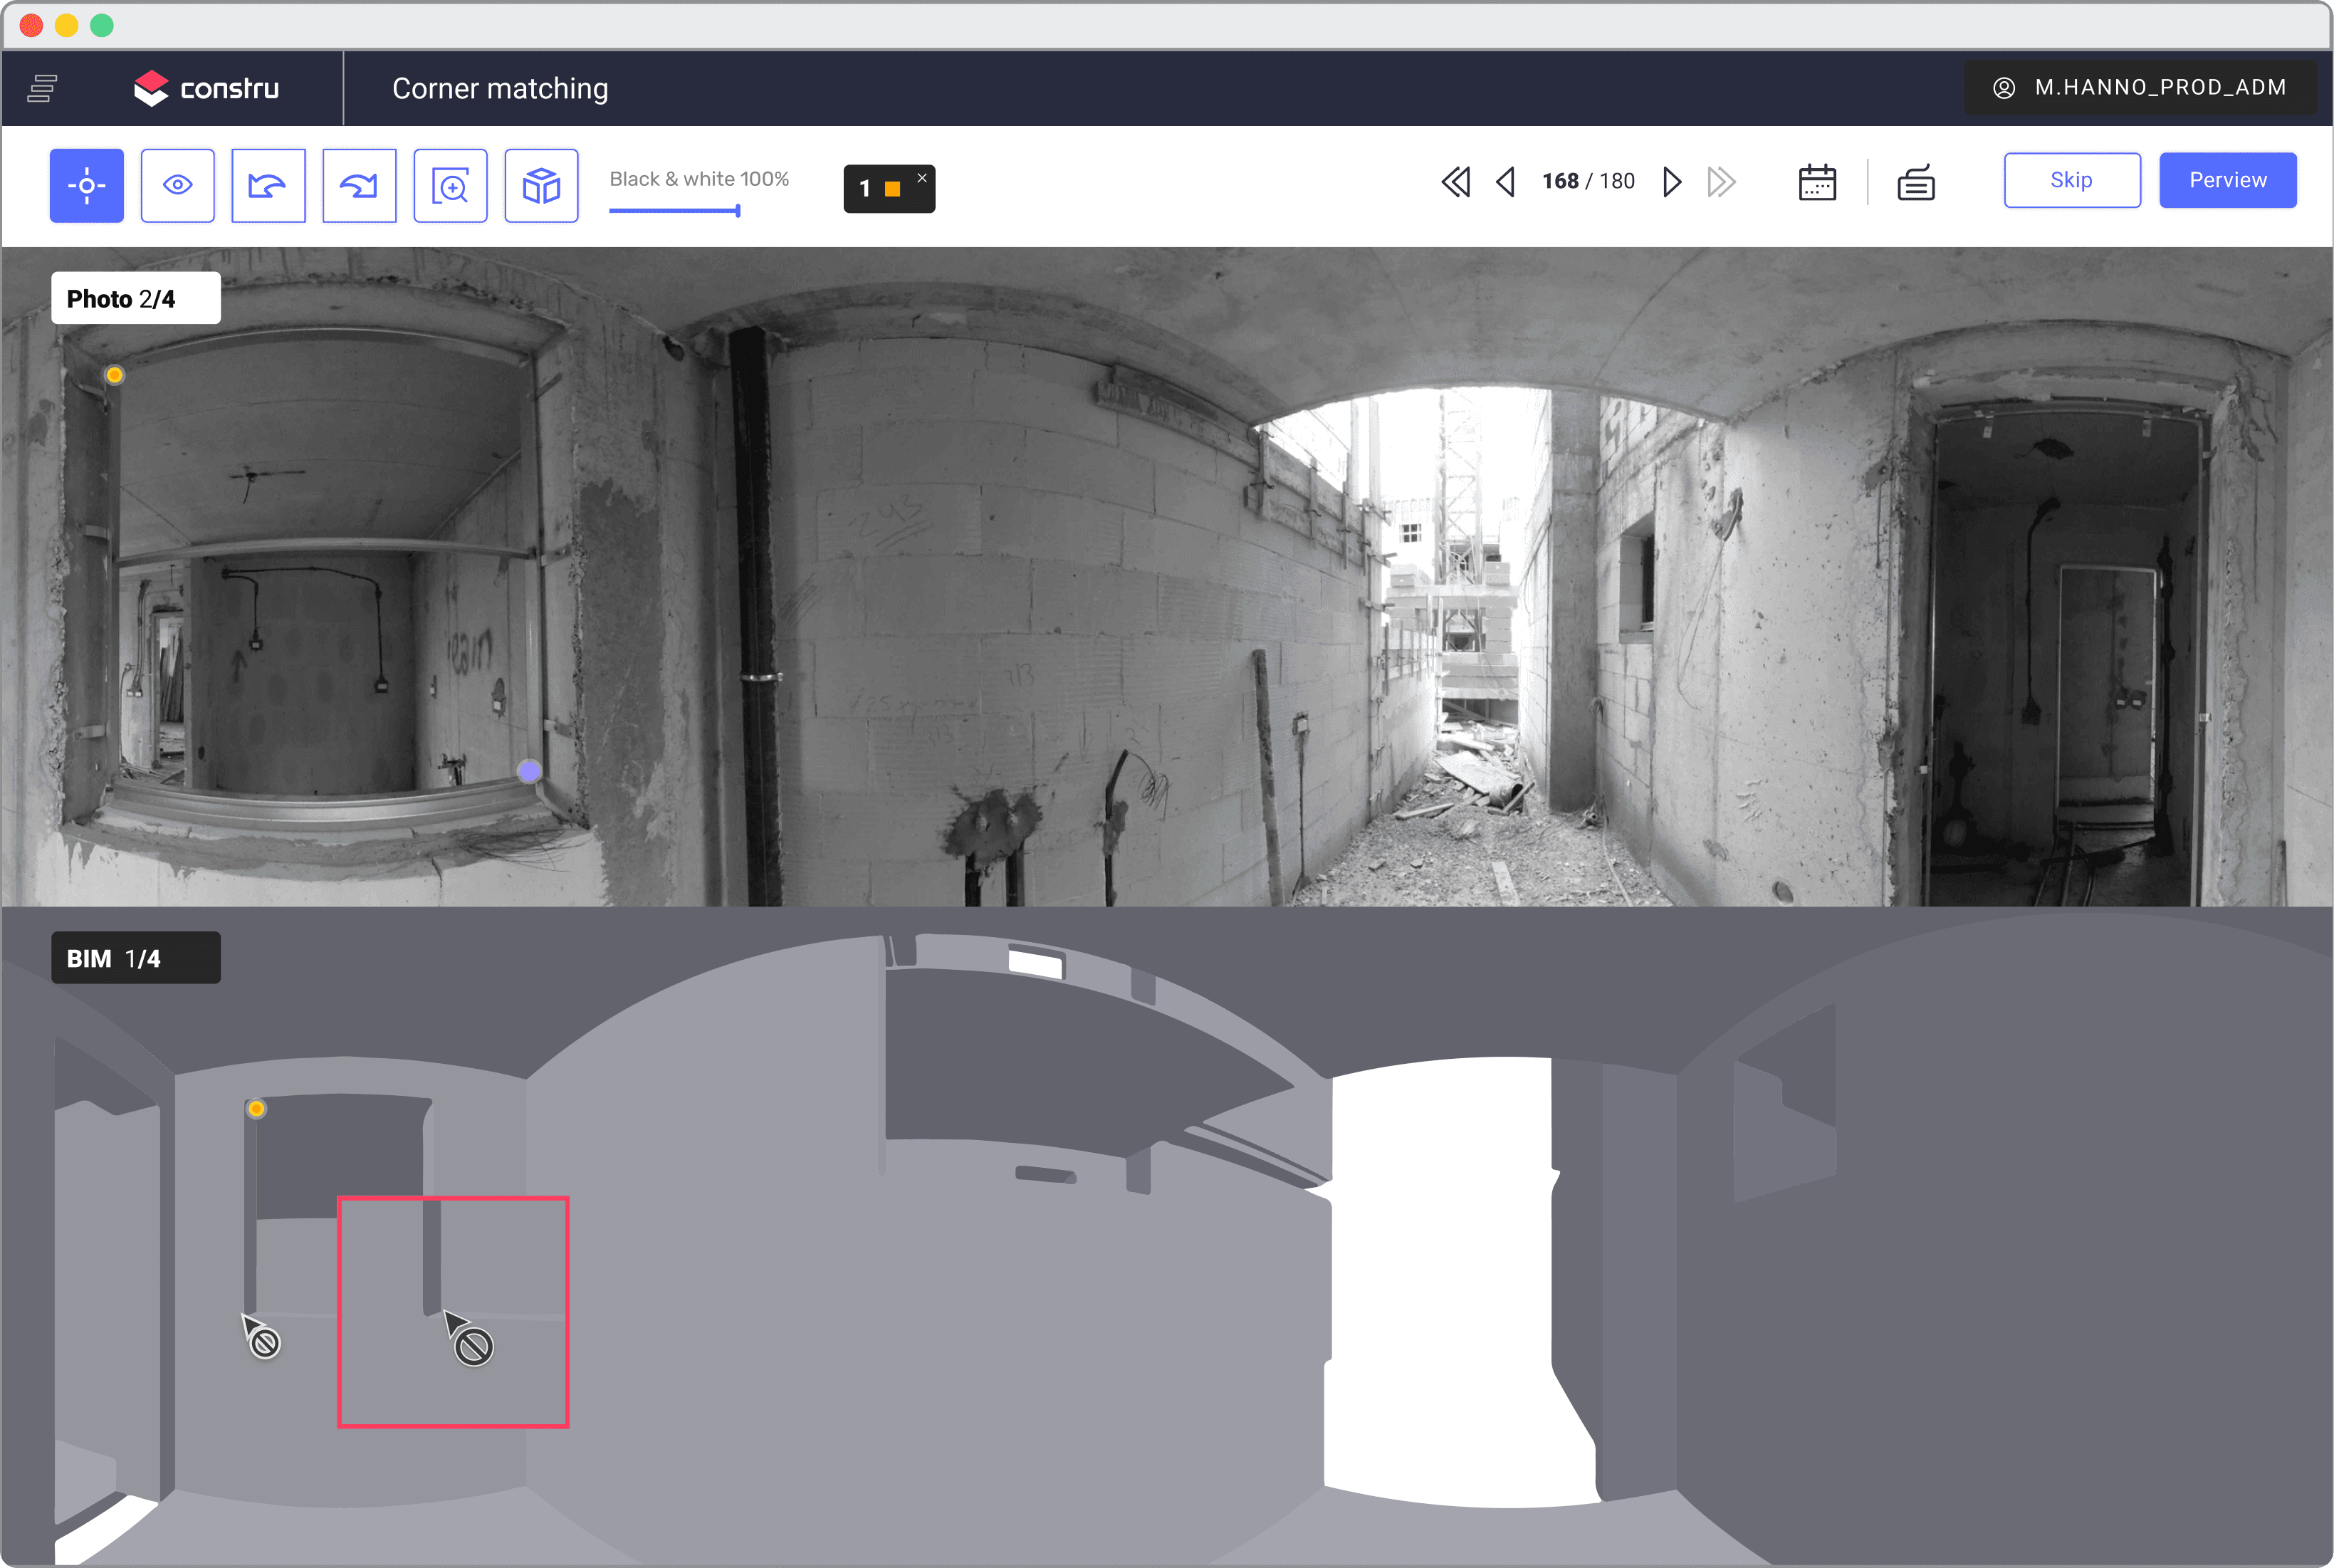
  • An indicator to visualize the relationship between two points (via icon).

  • We've introduced a keyboard shortcut for 360° panoramic view, catering to user preferences gathered from interviews. Additionally, the 'Shift' key simplifies zooming on both PC and Mac platforms.

Key Features

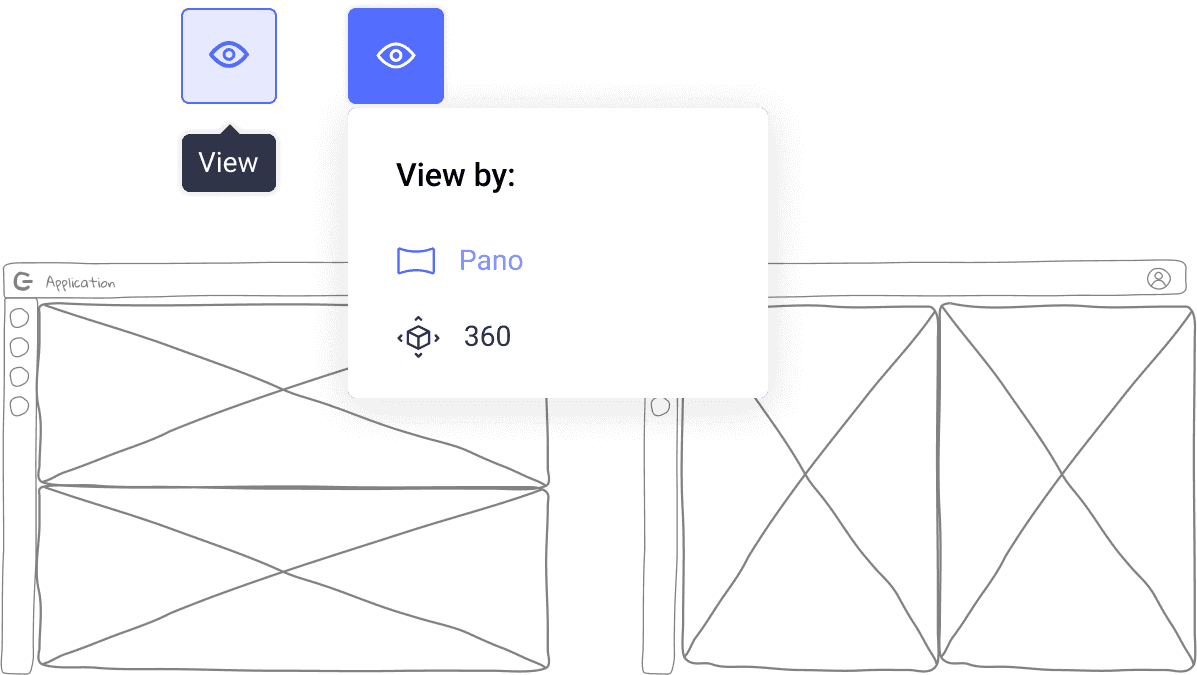
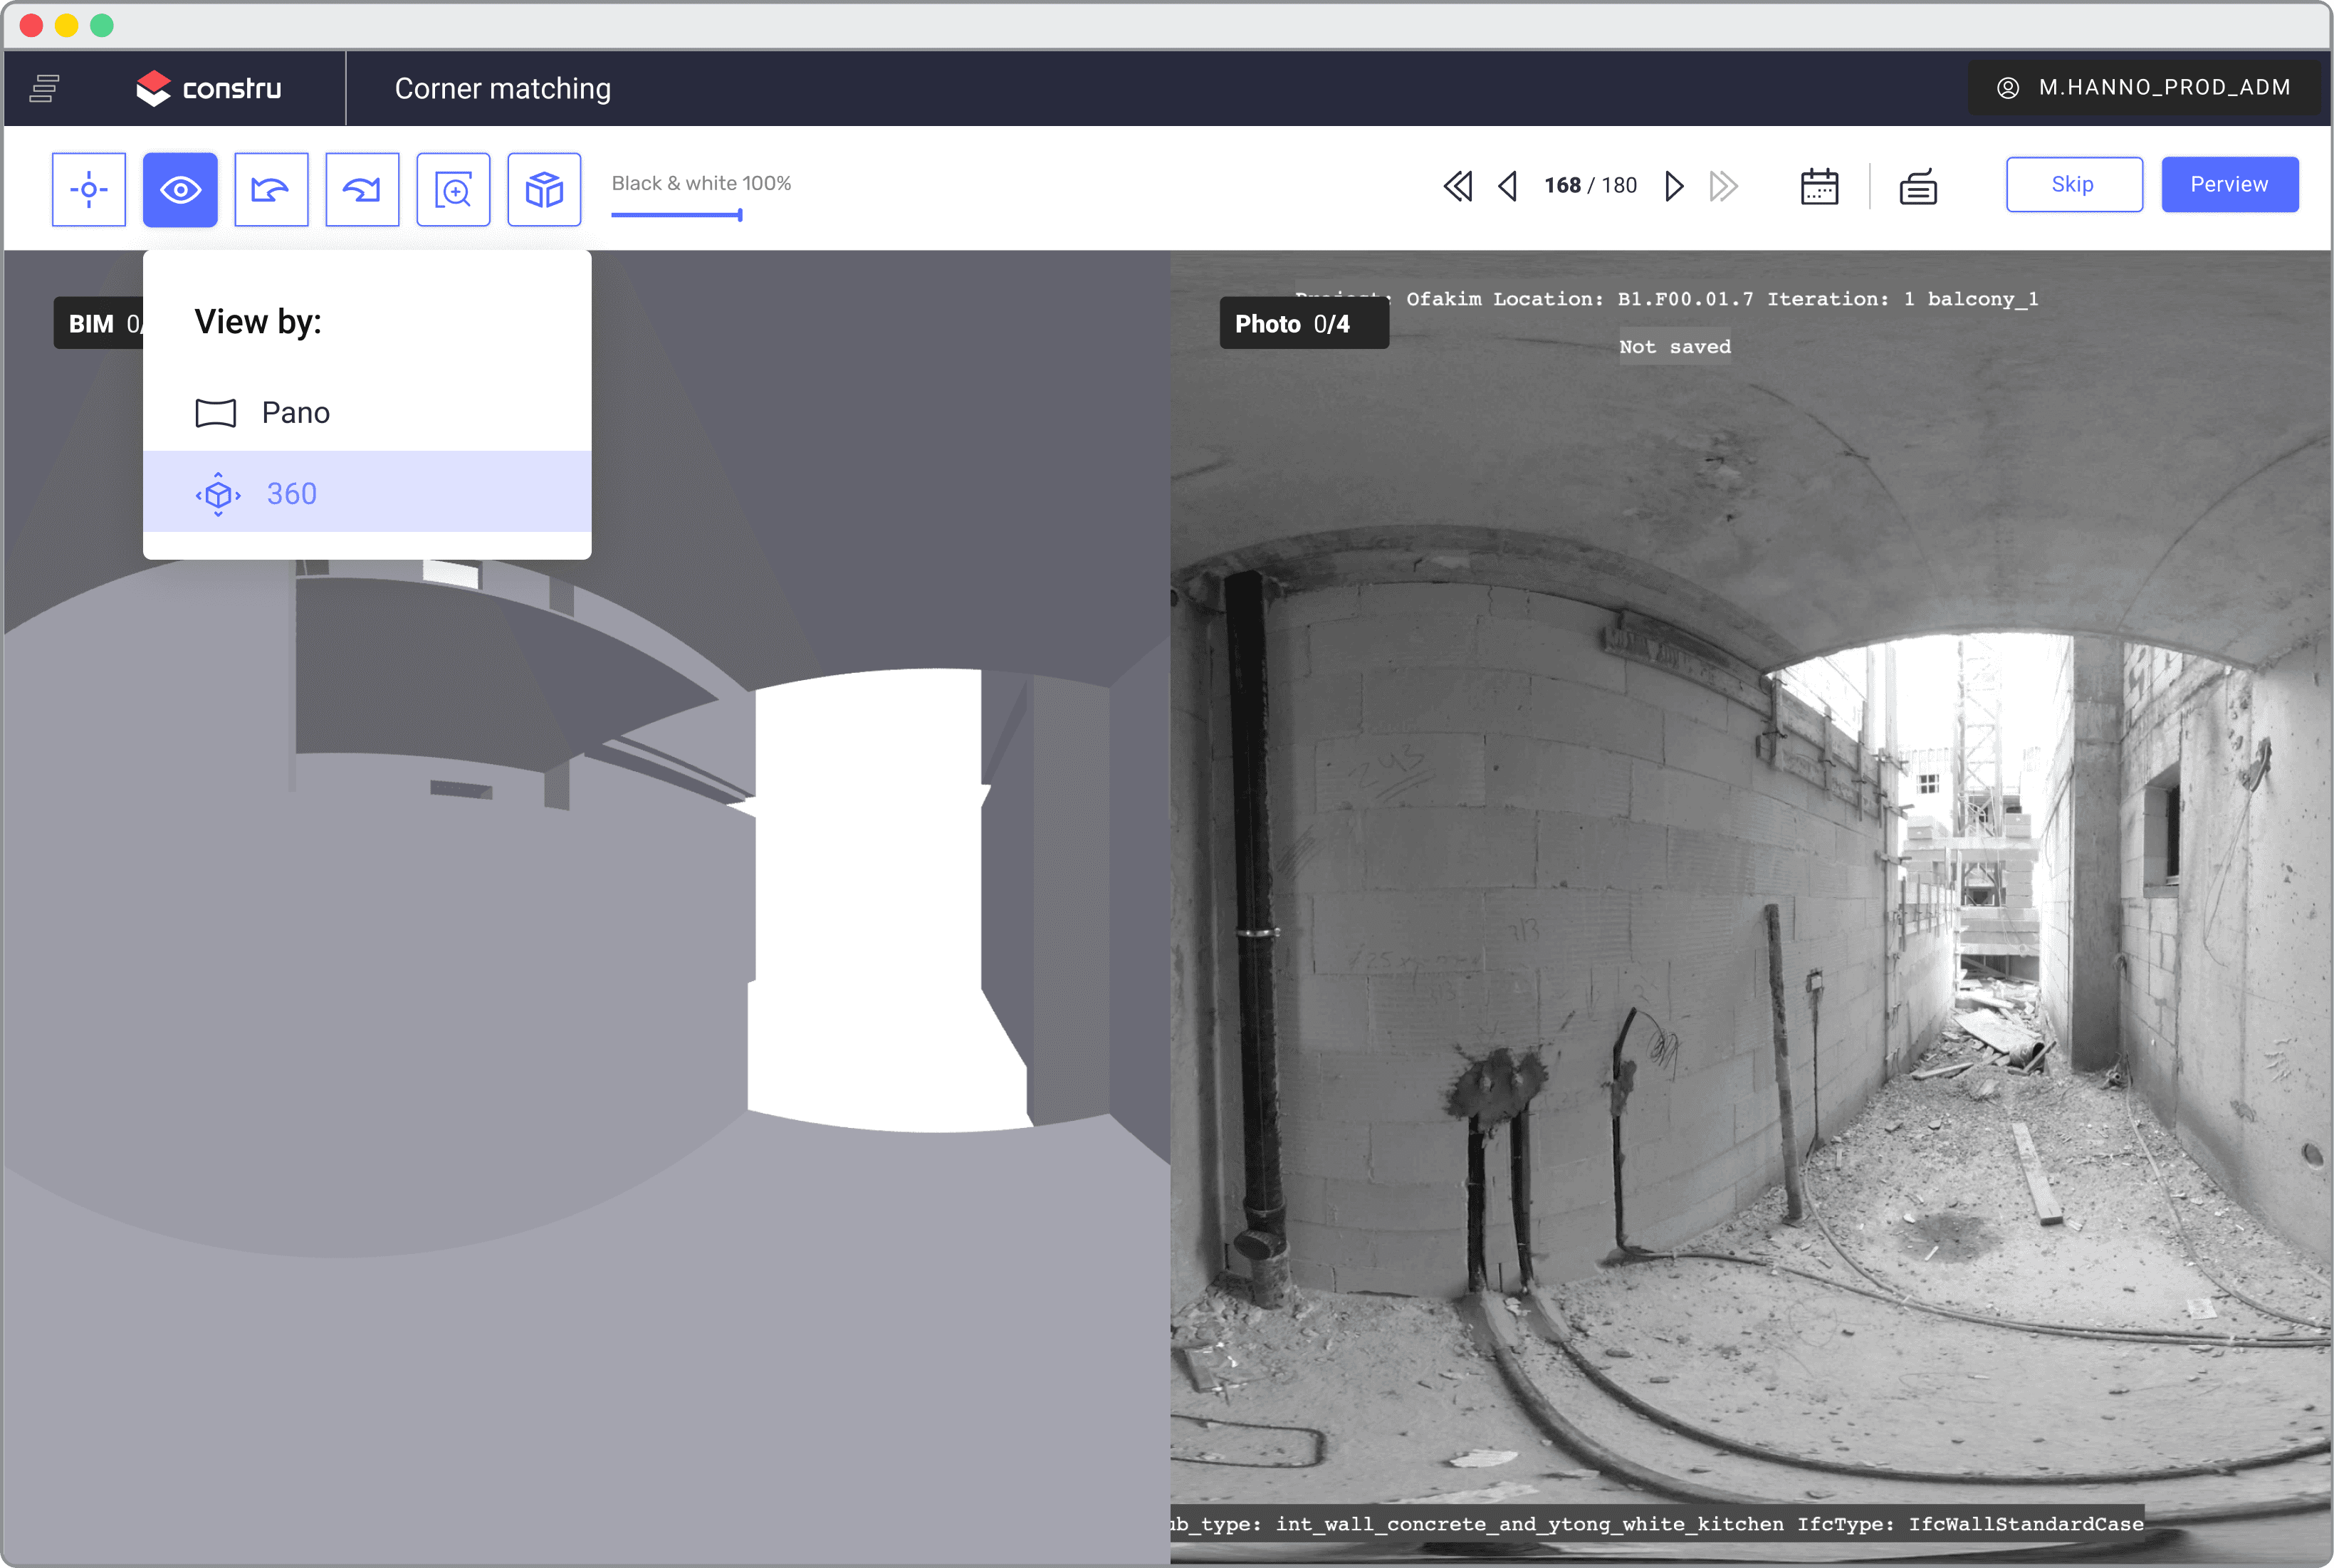
360 / Pano View

From one of the interviews, it became clear that users prefer to view the image and the BIM model from a wide perspective instead of a virtual 3D view. To prevent accessibility or usability issues, I choose both ways. Furthermore, the vertical skeleton was already developed.

360 / Pano View

From one of the interviews, it became clear that users prefer to view the image and the BIM model from a wide perspective instead of a virtual 3D view. To prevent accessibility or usability issues, I choose both ways. Furthermore, the vertical skeleton was already developed.

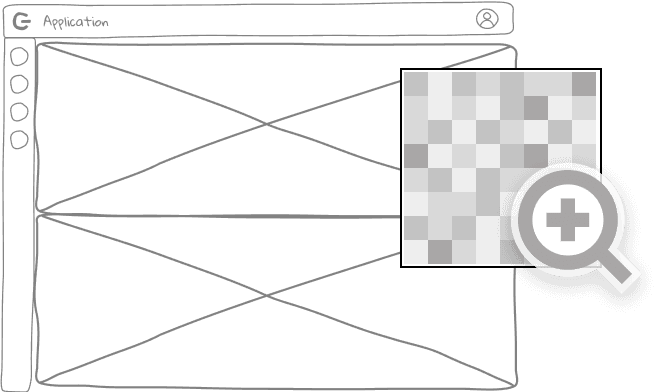
Magnifier Tool

To avoid zooming in and out, I added this functionality. I also made it easier to access the keyboard shortcut "Shift" In PC & Mac

Magnifier Tool

To avoid zooming in and out, I added this functionality. I also made it easier to access the keyboard shortcut "Shift" In PC & Mac

Magnifier Tool

To avoid zooming in and out, I added this functionality. I also made it easier to access the keyboard shortcut "Shift" In PC & Mac

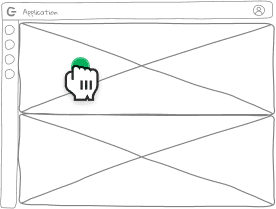
Drag Tool

Our design includes a drag tool, enabling users to adjust previously marked points. This functionality is executed through mouse movements, offering a viable alternative to keyboard commands.

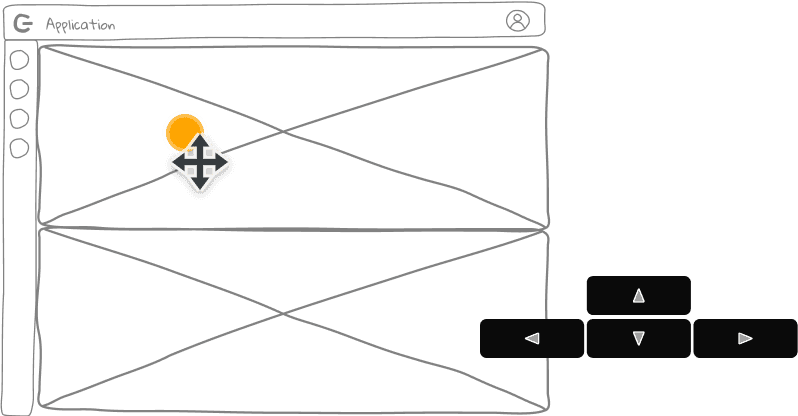
Move Tool

Users can also fine-tune adjustments using arrow keys (WASD) or delete points as needed.

UI
End Result

Dev Staging

End Result

Dev Staging

End Result

Dev Staging

End Result

Dev Staging

Usability Test

During the usability testing session, it became evident that the user had an expectation of receiving feedback. Once they had placed two points, one on the BIM and another on the image, their preference was to immediately observe the outcome. To address this, we implemented an automatic feedback system. As soon as the user positions two parallel points, the image will dynamically update in response, aligning with their anticipated feedback experience.

Results

We achieve our goal, the users completed the task in Less than 10 seconds,
Which meanse 93% improvement in productivity

Results 

Thanks to the new tool, we achieve our goal: The users completed the task in 8 seconds instead of 120 seconds per image

Results 

The final outcome was even better than we expected. As a company, we were able to increase productivity and scale. Aligning a single image to a BIM model takes less time. User completed the task in 1/10 the time it previously took.

Challenges

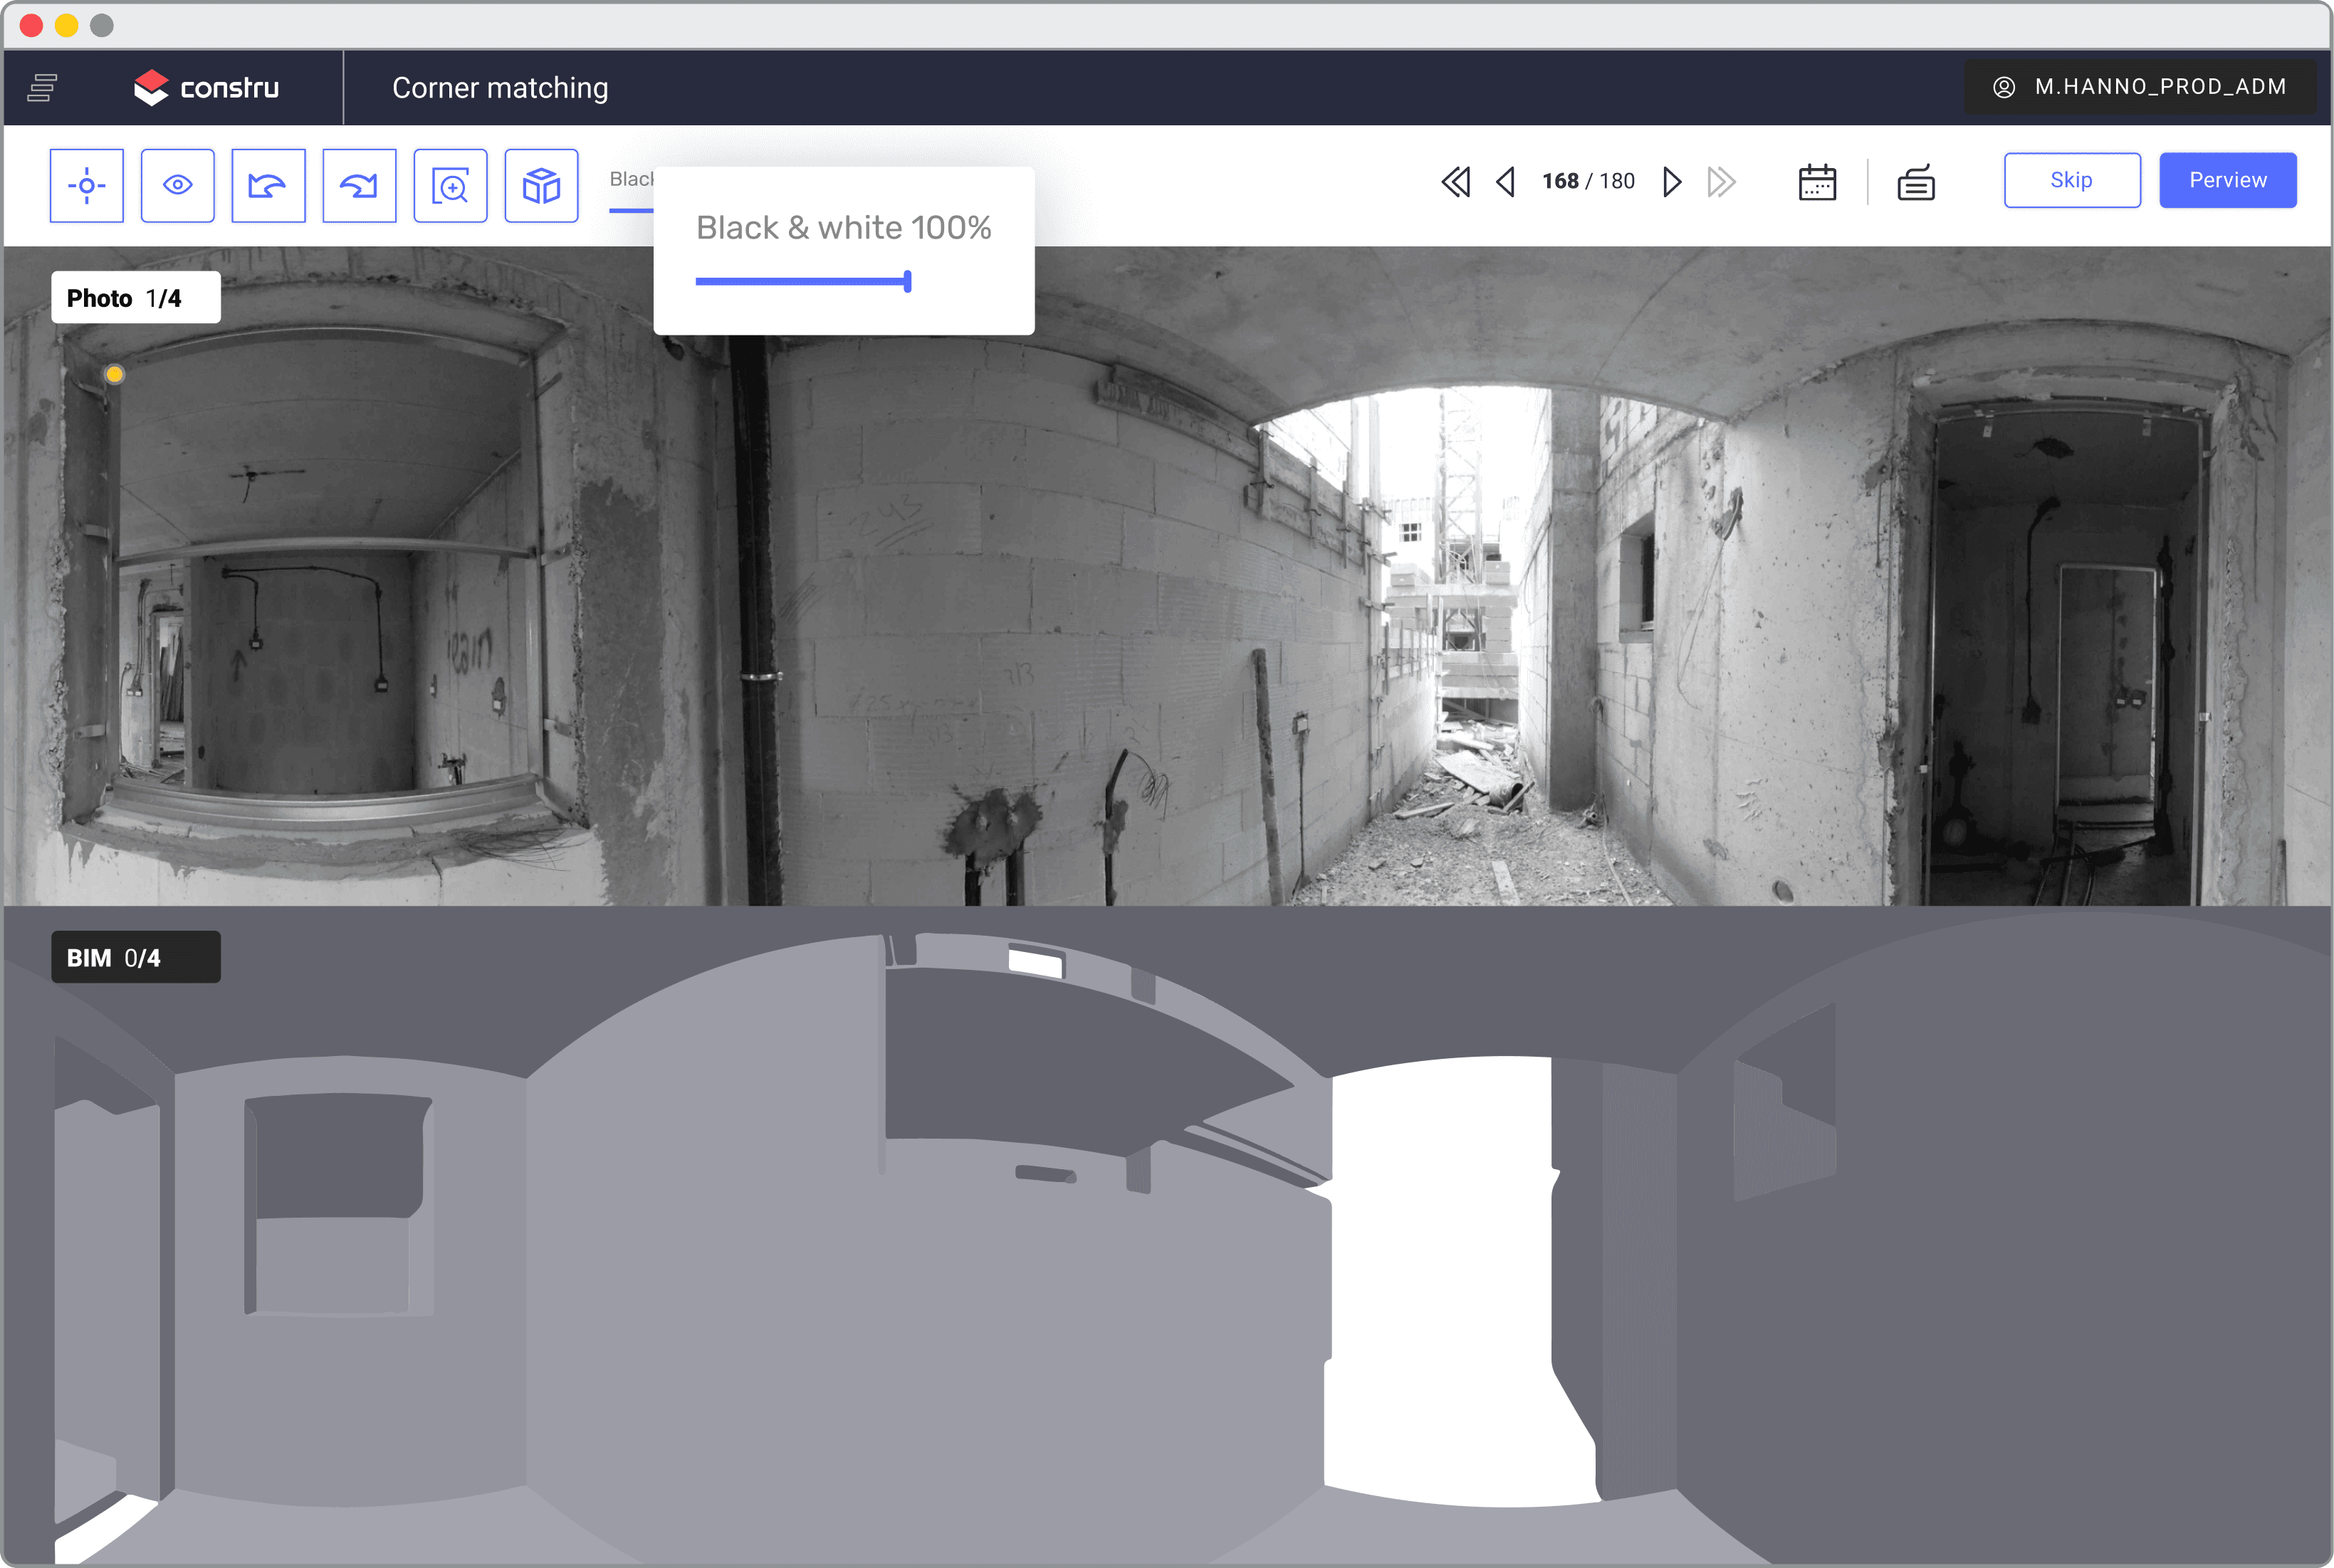
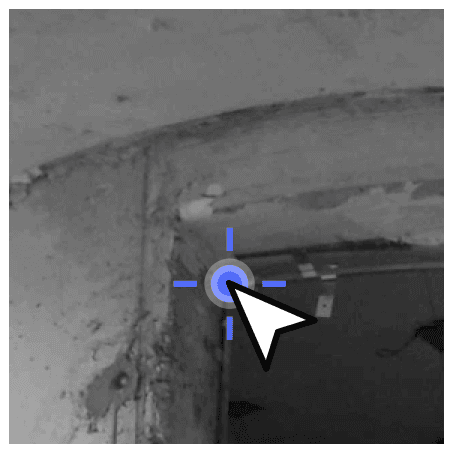
Occasionally, the images contain different colors Resulting in a hard-to-notice color point. By creating a white and black filter, I was able to solve the problem. Another design challenge was the point itself. Its shape twitched.

Style Guide & UI

Style Guide & UI

Style Guide & UI

Font

Font

Font

Roboto

Roboto

Roboto

ABCDEFGHIJKLMNOPURSTUVWXYZ


0123456789

ABCDEFGHIJKLMNOPURSTUVWXYZ


0123456789

Colors

Colors

Colors

Colors

ABC

#FC3B64

#536DFE

#DDDDDD

Tool's States

Tool's States

Tool's States

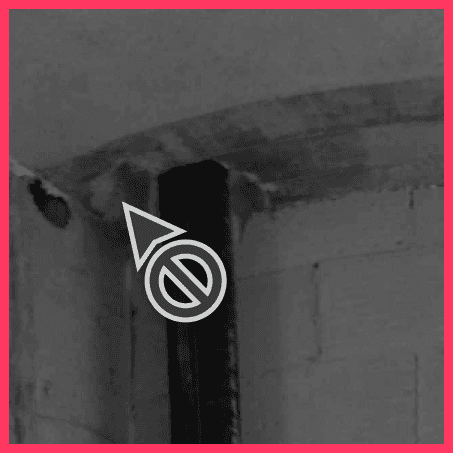
Moues Hints

Moues Hints

Moues Hints

Moues Hints

You May Also Like

You May Also Like

You May Also Like

You May Also Like

You May Also Like

Let's Talk

You can find me here

© 2024 Made by Michal Hanno

Let's Talk

You can find me here

© 2024 Made by Michal Hanno

Let's Talk

You can find me here

© 2024 Made by Michal Hanno